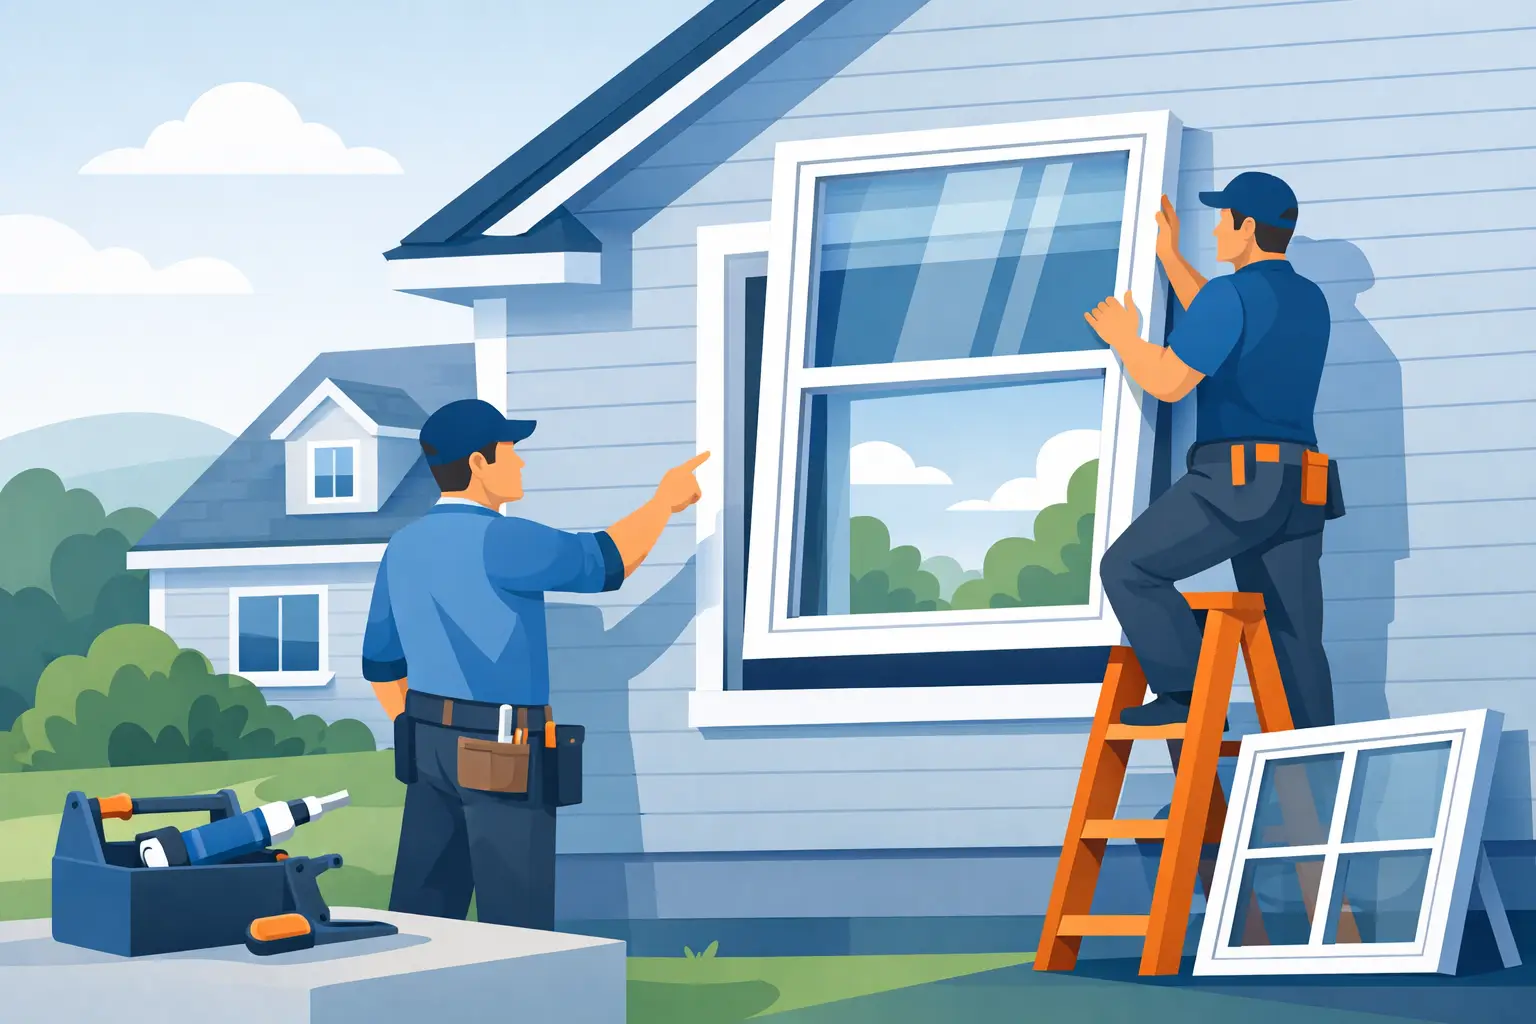
A window can look perfectly fine from the street and still be costing your household money. Drafts, cold glass, moisture between panes, difficult operation, and fading around the frame are all signs that older windows may no longer be doing their job. This replacement window installation guide explains what Connecticut homeowners should expect from a professional project, from the first measurements through the final inspection.
For most homes, window replacement is not simply a cosmetic update. The right products and installation methods can improve comfort, reduce outside noise, protect interior finishes, and support better energy efficiency through every Connecticut season.
Start With the Right Reason for Replacement
Homeowners replace windows for different reasons, and the reason matters when choosing the product and installation approach. If you feel cold air near the window in winter, see condensation between the glass panes, or have trouble opening and locking the sash, replacement may solve a functional problem. If the goal is curb appeal or easier cleaning, style and operation may carry more weight.
Rotting wood, soft trim, water stains, and peeling paint deserve closer attention. Those conditions may point to a larger moisture issue around the opening. A reliable contractor should inspect the frame and surrounding exterior, not just place a new window over a problem that needs repair.
Window replacement can also make sense as part of a broader exterior project. New siding, doors, roofing, or gutters may affect how water is managed around the house. Coordinating these improvements can help protect the home envelope and create a cleaner finished appearance.
Choosing Replacement Windows for a Connecticut Home
The best window is not always the most expensive option. It is the one that fits the opening correctly, meets your performance priorities, suits the home’s style, and is installed with care. Connecticut homes experience cold winters, humid summers, wind-driven rain, and seasonal temperature swings, so weather performance should be part of the conversation.
Select the Right Window Style
Double-hung windows remain a popular choice because they work well with many traditional Connecticut homes and allow both sashes to operate. Casement windows can provide a tight seal and are often useful where homeowners want a wider view or easier operation. Sliding windows, awning windows, bay windows, and picture windows each serve different needs for ventilation, light, and appearance.
Style is not only about looks. Think about how the window will be used every day. A window above a kitchen sink may be easier to operate with a crank. A bedroom window must meet egress requirements when it serves as an emergency exit. A professional assessment helps avoid choosing a style that looks good on a sample board but does not work well in the room.
Consider Glass and Frame Performance
Energy-efficient glass packages can reduce heat transfer and help rooms feel more consistent throughout the year. Low-E coatings, insulated glass, and appropriate gas fills are common features, but the ideal package depends on window location, sun exposure, and budget. West- and south-facing rooms may benefit from glass that manages solar heat, while shaded areas may have different priorities.
Vinyl frames are popular for their low maintenance and value. Fiberglass and wood-clad products may offer different appearance and performance benefits at a higher price point. Rather than focus on one material alone, compare the complete window system, warranty, glass options, and the quality of the proposed installation.
What Happens Before Installation Begins
Accurate measuring is one of the most important parts of the job. A contractor should measure each opening carefully, because windows that appear identical may have small differences in width, height, or frame condition. Proper measurements help ensure the new unit fits correctly without excessive gaps or unnecessary alterations.
Before ordering, the installation team should also discuss window style, interior and exterior trim, glass options, color, hardware, and any special conditions around the opening. This is the time to raise concerns about damaged framing, lead-safe work practices for older homes, access to upper-story windows, or landscaping near the work area.
Once the windows arrive, homeowners should prepare the rooms by moving furniture away from the work area and removing curtains, blinds, and fragile items near the windows. Installation creates some dust and noise, even with careful protection. A professional crew will protect floors and work areas, but clear access helps the project move efficiently.
The Replacement Window Installation Process
A professional replacement window installation follows a practical sequence. Details vary by home and window type, but the goal remains the same: create a secure, square, insulated, and weather-tight opening.
Removing the Existing Window
The crew begins by carefully removing the old sash, frame components, or complete window unit, depending on the installation method. Insert replacements can work well when the existing frame is solid and square. Full-frame replacement may be the better choice when there is rot, water damage, poor past installation, or a need to change the window size or style.
This is an important trade-off. Insert installation can preserve more existing trim and may reduce disruption, but it is not the right solution for every opening. Full-frame replacement provides access to the rough opening and can address hidden issues, though it may require more exterior or interior finish work.
Inspecting and Preparing the Opening
After removal, the opening should be inspected for rot, moisture damage, gaps, and structural concerns. Any damaged wood or compromised material needs to be repaired before the new window goes in. Skipping this step can allow water and air problems to continue behind a new product.
The crew then prepares the sill and flashing area to direct water away from the home. Proper flashing, sealing, and insulation are not optional finishing touches. They are key parts of keeping wind-driven rain and cold air from getting around the window frame.
Setting, Leveling, and Securing the Window
The new window is placed into the opening, then checked for level, plumb, and square. Small adjustments during this stage matter. A window that is not properly aligned can operate poorly, fail to lock correctly, or place stress on the frame.
Once positioned, the window is secured according to the manufacturer’s requirements. The space around the frame is insulated carefully. Too little insulation can leave drafts, while overfilling with the wrong material can distort the frame and affect operation. Experienced installers know how to seal the opening without compromising the window.
Finishing the Interior and Exterior
The exterior is finished with appropriate flashing, trim, and sealant to create a clean appearance and protect the opening from weather. On the interior, trim is reinstalled or replaced as needed, and the crew checks that the sash opens, closes, locks, and tilts properly.
Caulk alone is not a complete weatherproofing plan. It should support proper flashing and installation details, not replace them. A neat bead of caulk may look finished on day one, but a lasting installation depends on what is happening behind the trim as well.
Questions to Ask Before Hiring a Window Contractor
A clear estimate should explain the window product, installation scope, trim work, disposal, warranty coverage, and any potential repairs that could affect the final price. Homeowners should also ask whether the contractor uses trained installation crews and how the team handles discovered rot or water damage.
It is reasonable to ask about the expected schedule, how the work area will be protected, and whether the crew will remove old windows and debris each day. Fast service matters, but careful preparation and proper sealing should never be rushed.
For homeowners planning a larger exterior improvement, working with one experienced contractor can simplify scheduling and help ensure windows integrate properly with siding, doors, and other exterior details. Siding Unlimited CT brings more than 20 years of exterior renovation experience to projects where workmanship, timing, and dependable results matter.
Protect Your Investment After Installation
New windows need little day-to-day maintenance, but a few simple habits will help them perform well. Keep the tracks clean, make sure drainage paths are clear, and inspect exterior sealant periodically for cracking or separation. Do not paint over weep holes or block them with storm windows, shutters, or debris.
During the first few weeks, operate every window and confirm that locks engage smoothly. If you notice a sticking sash, visible gap, damaged screen, or finish concern, bring it to the contractor’s attention promptly. Addressing small items early helps protect the value of the installation.
A properly installed replacement window should make your home feel more comfortable without demanding attention every day. Choose a contractor who measures carefully, explains the work clearly, and treats the details behind the trim with the same care as the finished view.
Share this post